Section Macro
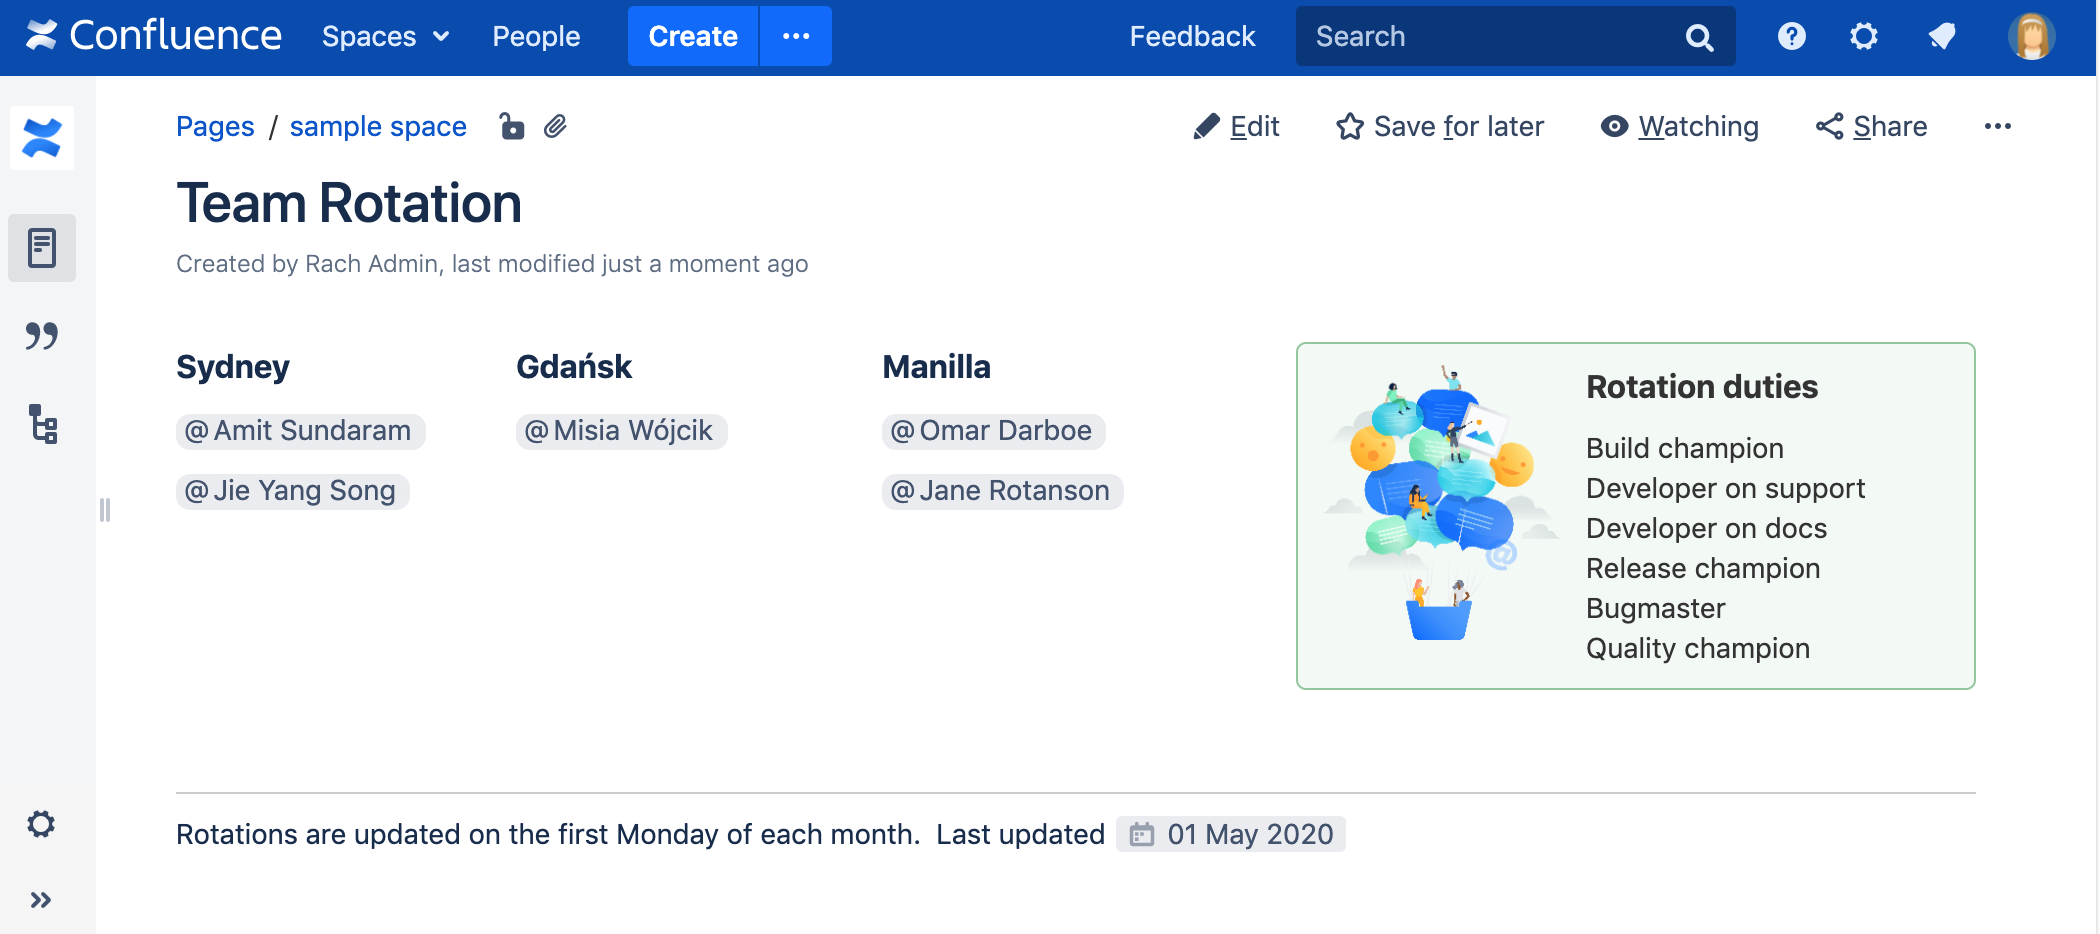
Screenshot: page with a four column layout using the Section and Column macros.
Want a simpler way to lay out your page? Try a page layout instead.
Add this macro to your page
To add the Section macro to a page:
- From the editor toolbar, select Insert , then Other Macros.
- Choose Section from the Formatting category.
- Choose Insert.
You can then start typing into the macro body, add some Column macros, then publish your page to see the macro in action.
Screenshot: section and column macros in the editor
Change the macro parameters
Macro parameters are used to change the behavior of a macro.
To change the macro parameters:
- In the editor, click the macro placeholder and select Edit.
- Update the parameters as required then select Insert.
Here's a list of the parameters available in this macro.
Parameter | Default | Description |
|---|---|---|
Show Border | false | Select this option to draw a border around the section and columns. Note: Without a Column macro , the border will not be displayed correctly. |
Where the parameter name used in Confluence storage format or wikimarkup is different to the label used in the macro browser, it will be listed below in brackets (example).
Other ways to add this macro
Add this macro as you type
Add this macro using wiki markup
This is useful when you want to add a macro outside the editor, for example as custom content in the sidebar, header or footer of a space.
Macro name: section
Macro body: Rich text, consisting of one or more Column macros.
{section:border=true}
{column:width=100px}
This is the content of *column 1*.
{column}
{column}
This is the content of *column 2*.
{column}
{section}


