Configure Bamboo SAML SSO with Microsoft Entra ID (formerly Azure AD)
Platform Notice: Data Center - This article applies to Atlassian products on the Data Center platform.
Note that this knowledge base article was created for the Data Center version of the product. Data Center knowledge base articles for non-Data Center-specific features may also work for Server versions of the product, however they have not been tested. Support for Server* products ended on February 15th 2024. If you are running a Server product, you can visit the Atlassian Server end of support announcement to review your migration options.
*Except Fisheye and Crucible
Summary
This guide is designed to walk you through the step-by-step process of setting up SAML SSO for Bamboo using Microsoft Entra ID (formerly Azure AD) as your identity provider.
Environment
The solution has been tested on Bamboo 9.2 connected to Microsoft Entra ID (formerly Azure AD) identity provider.
Solution
Configuration steps
Microsoft Entra ID configuration side
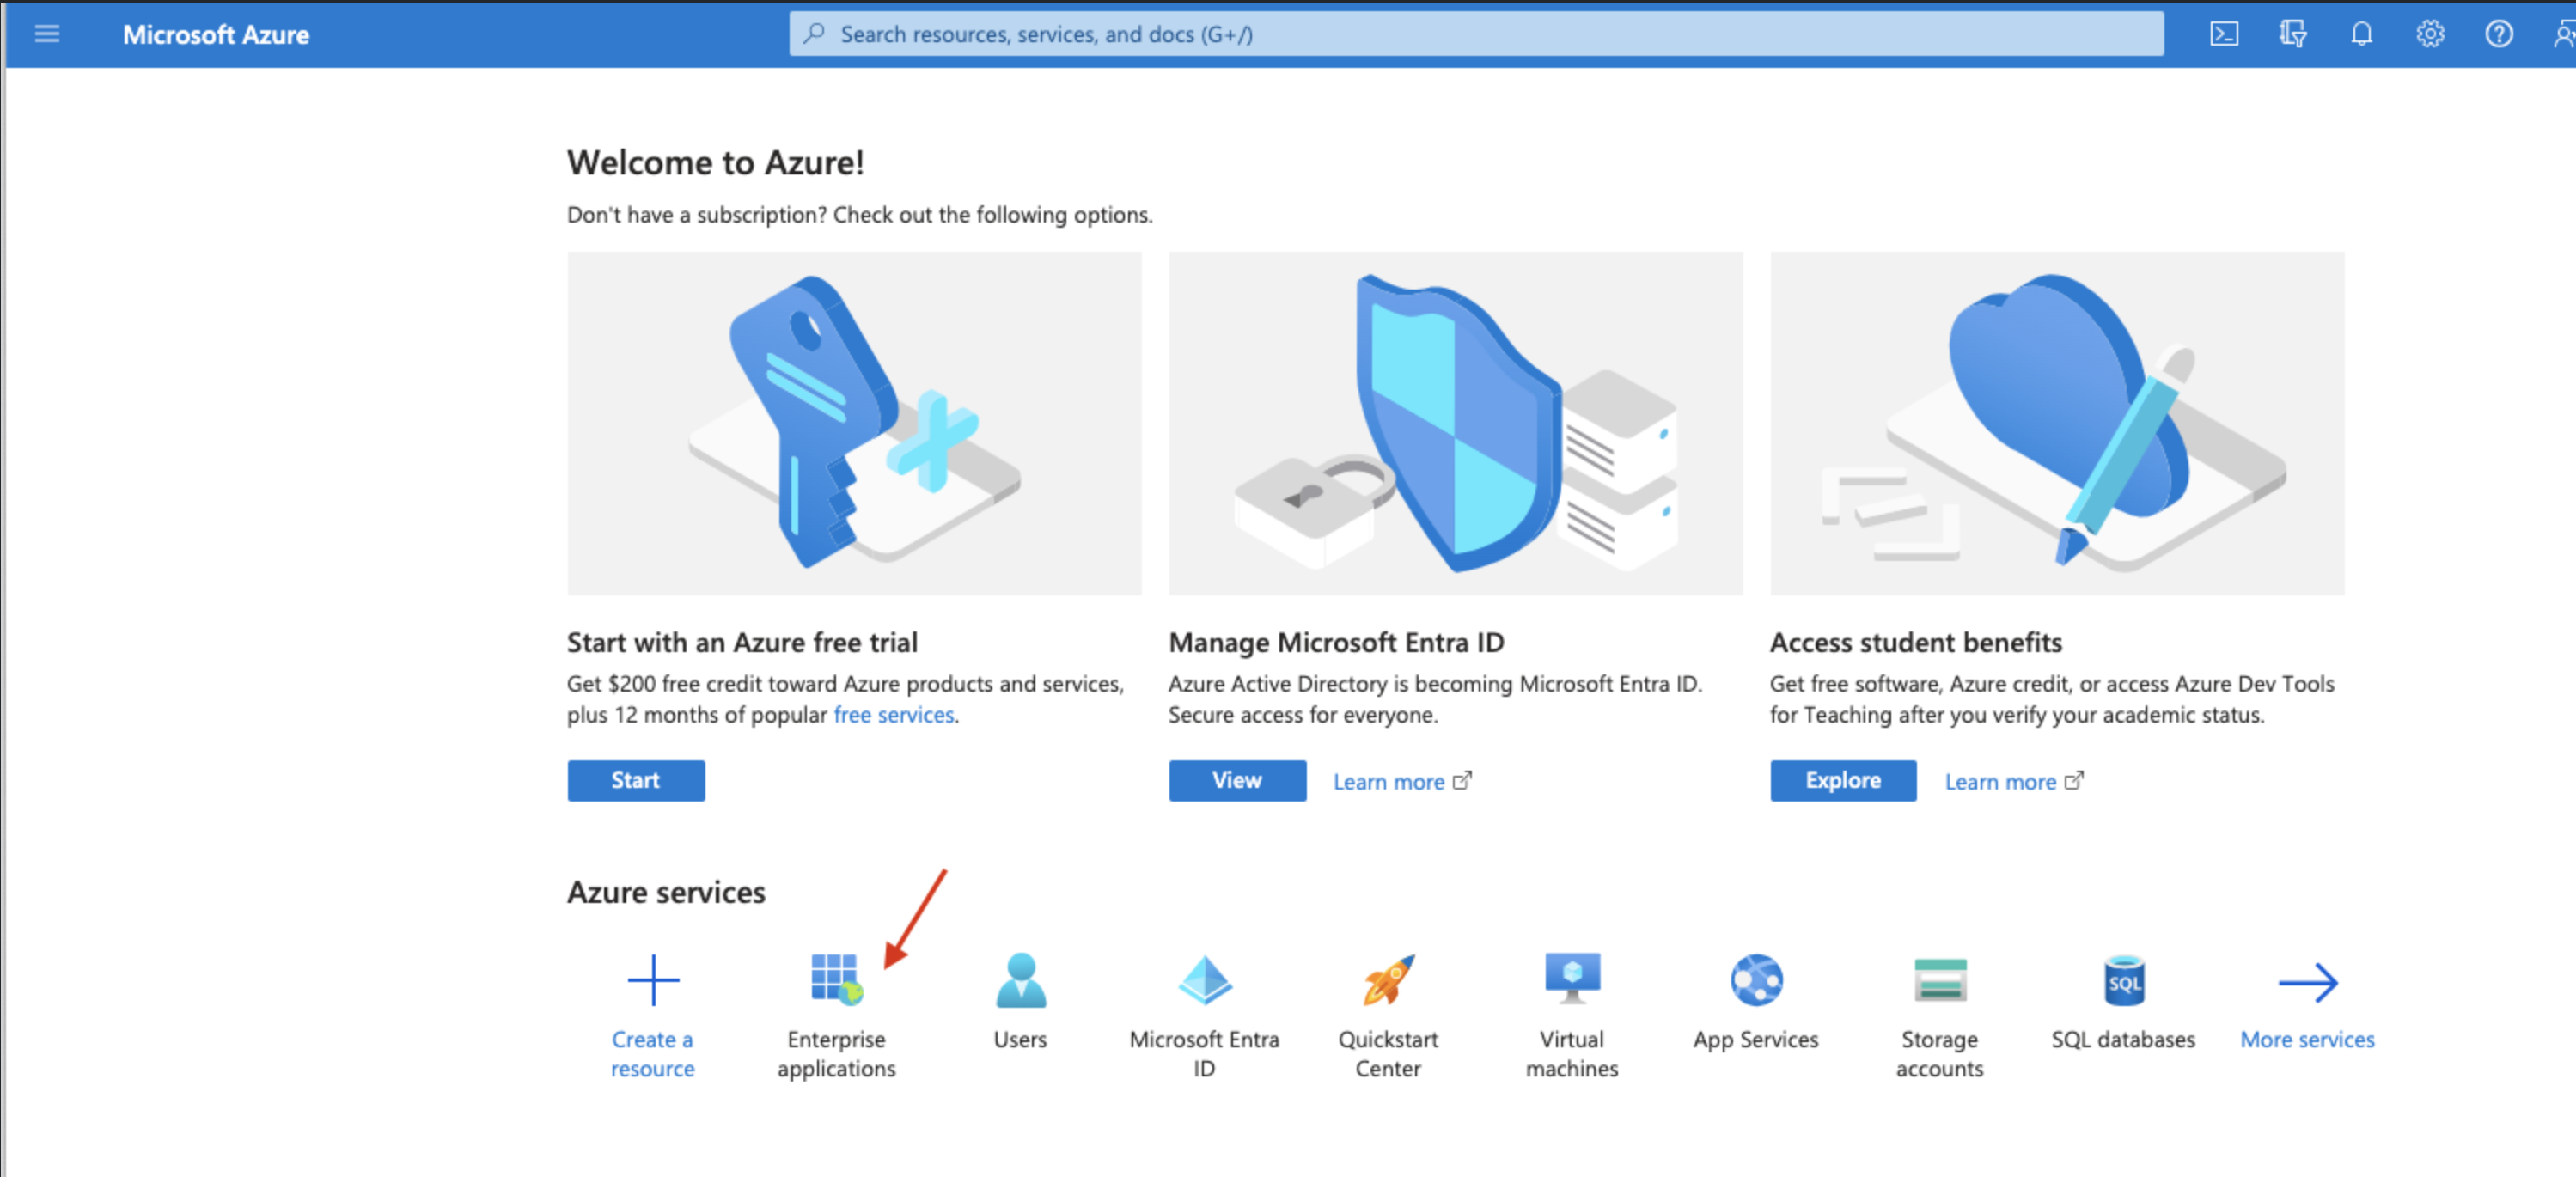
From the Microsoft Entra ID portal, select Enterprise Applications:
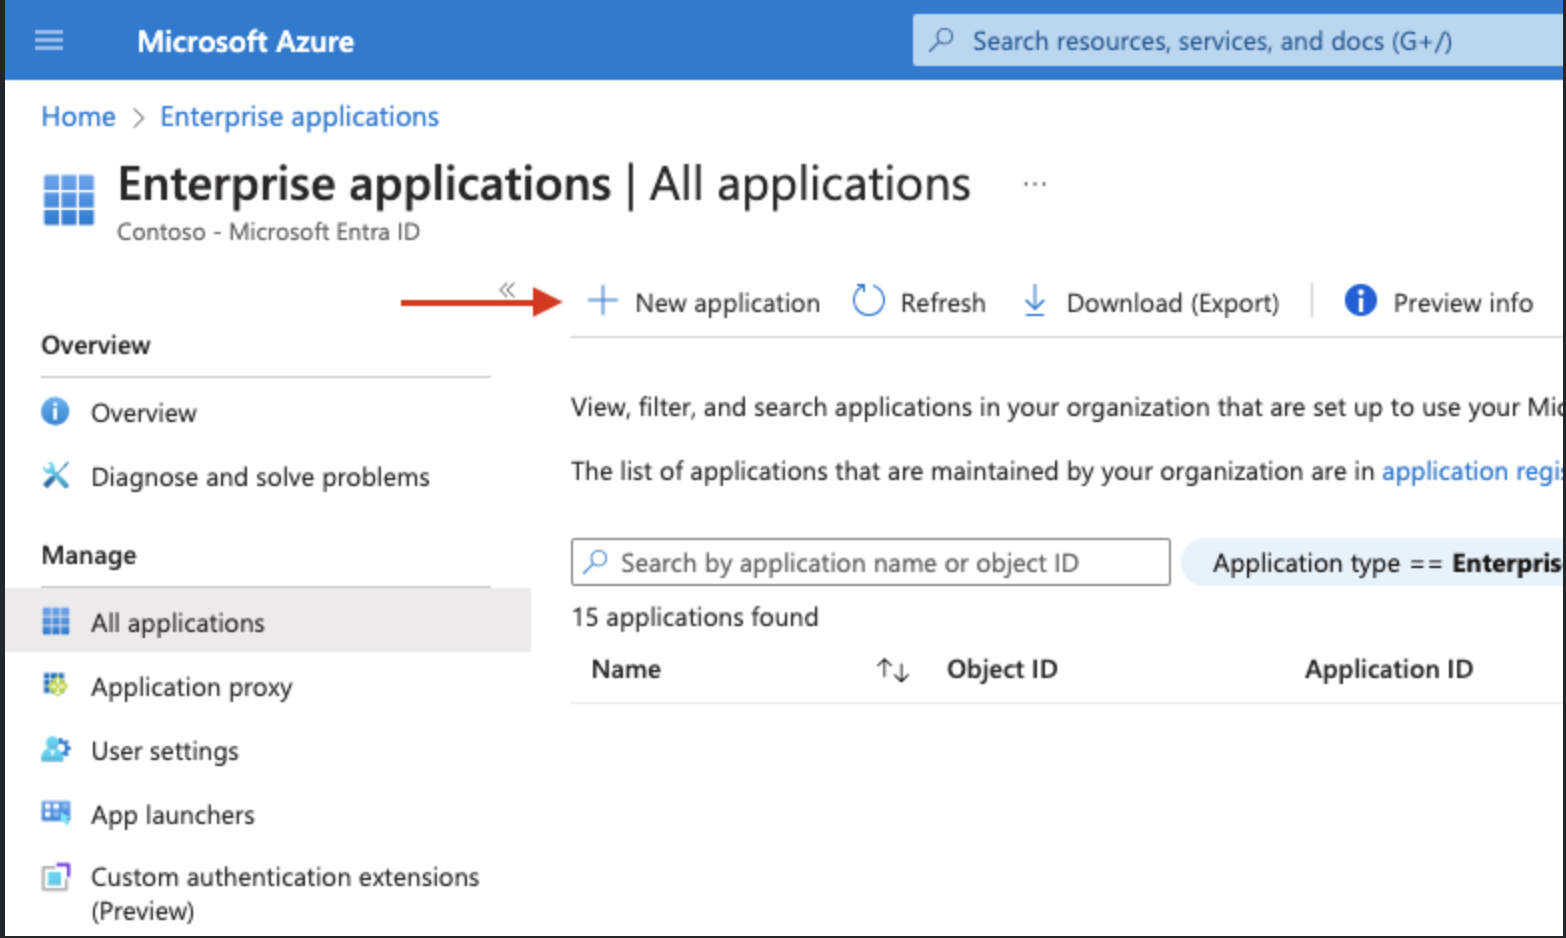
From the Enterprise Applications page click on “New application”
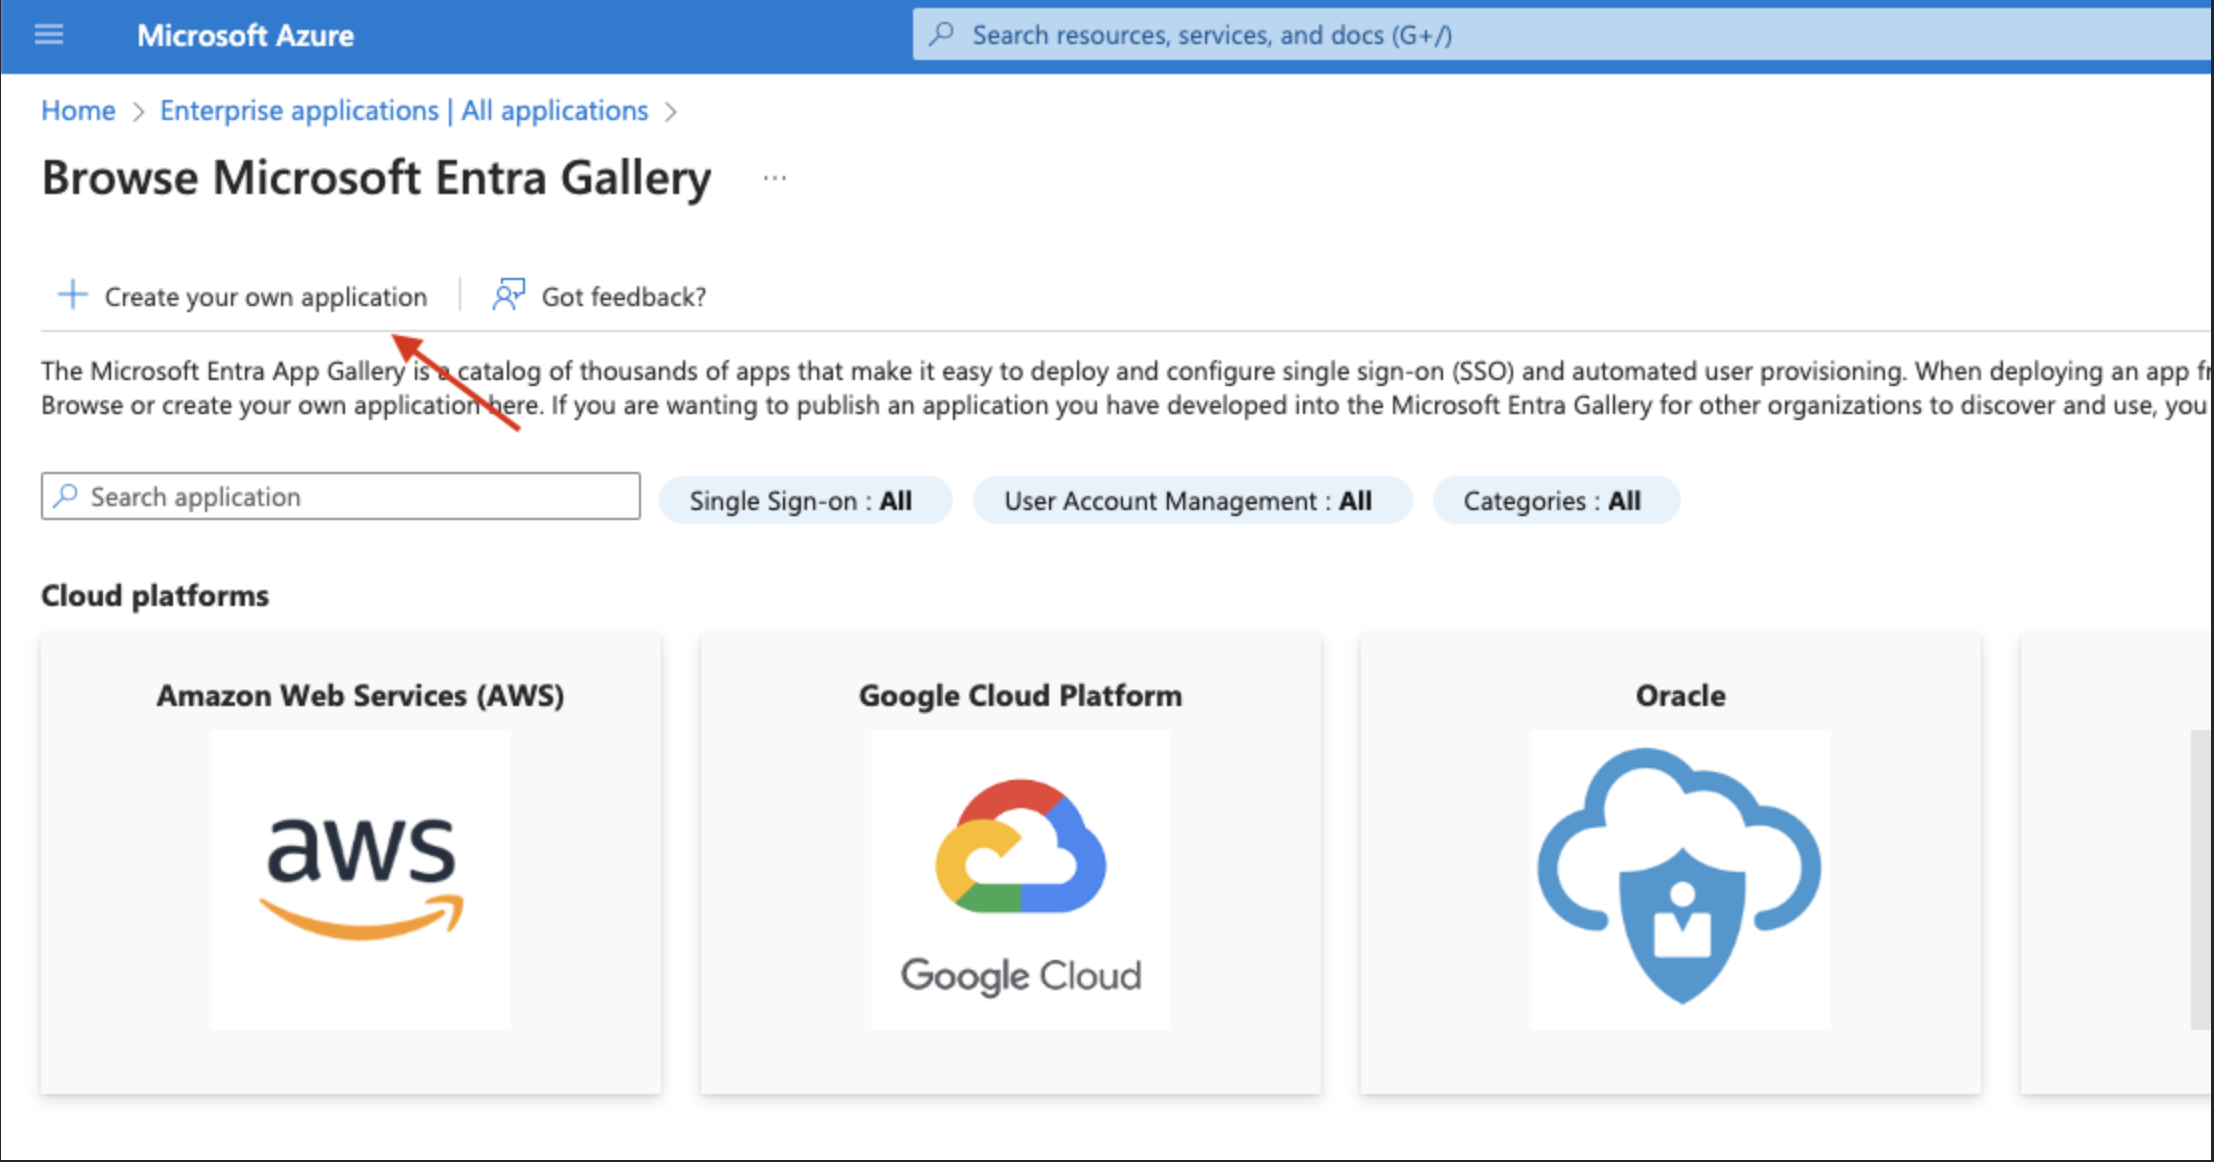
From the Browse Microsoft Entra Gallery click on “Create your own application”
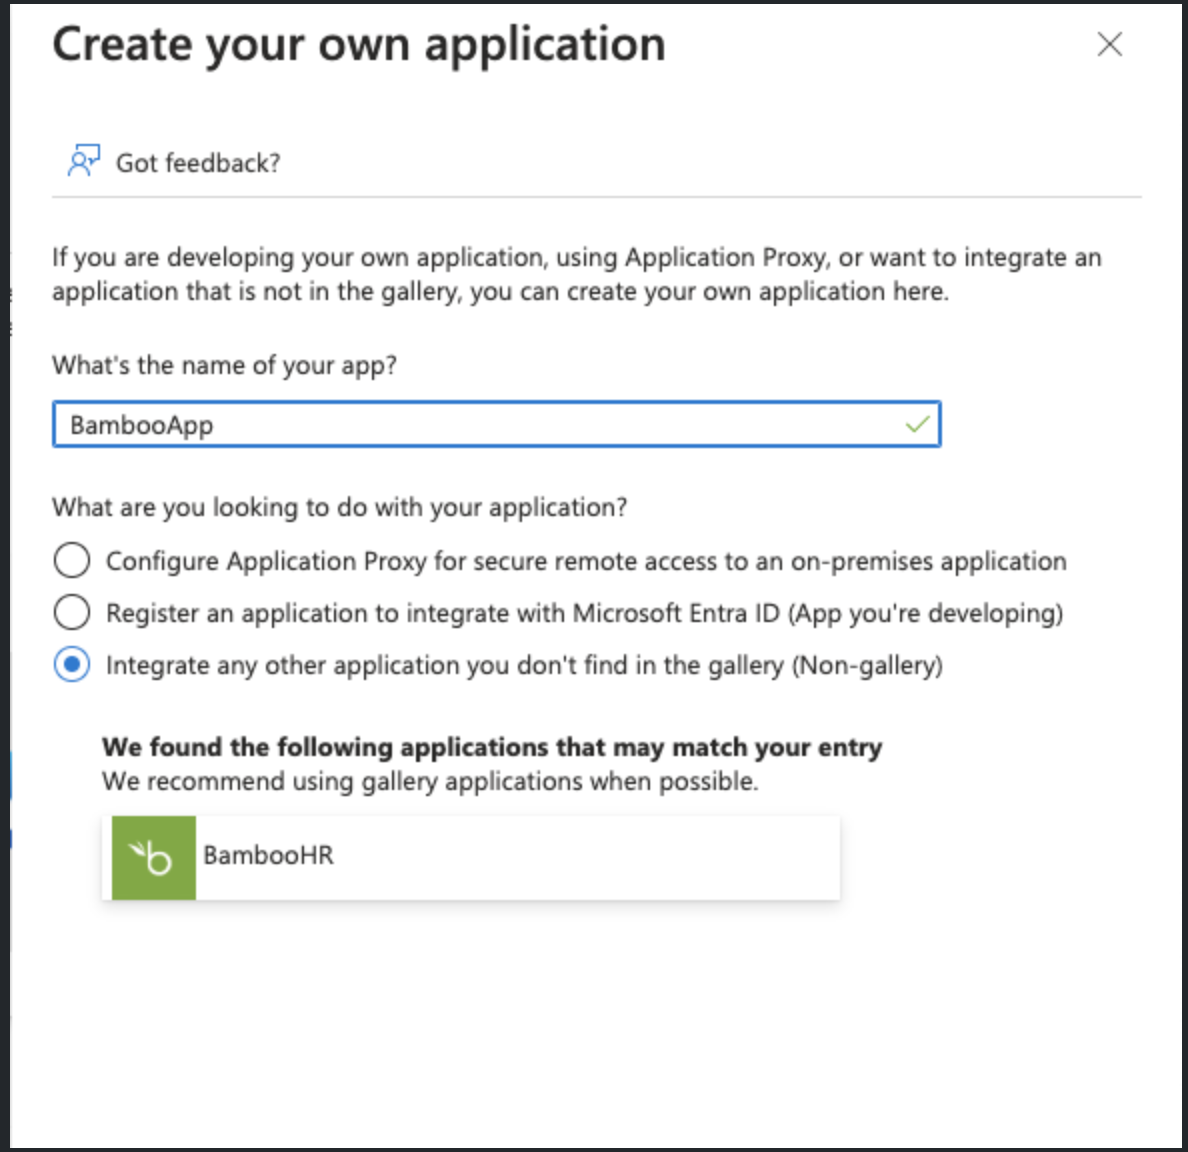
Enter the name of your application and choose the option “Integrate any other application you don't find in the gallery” then click Create.
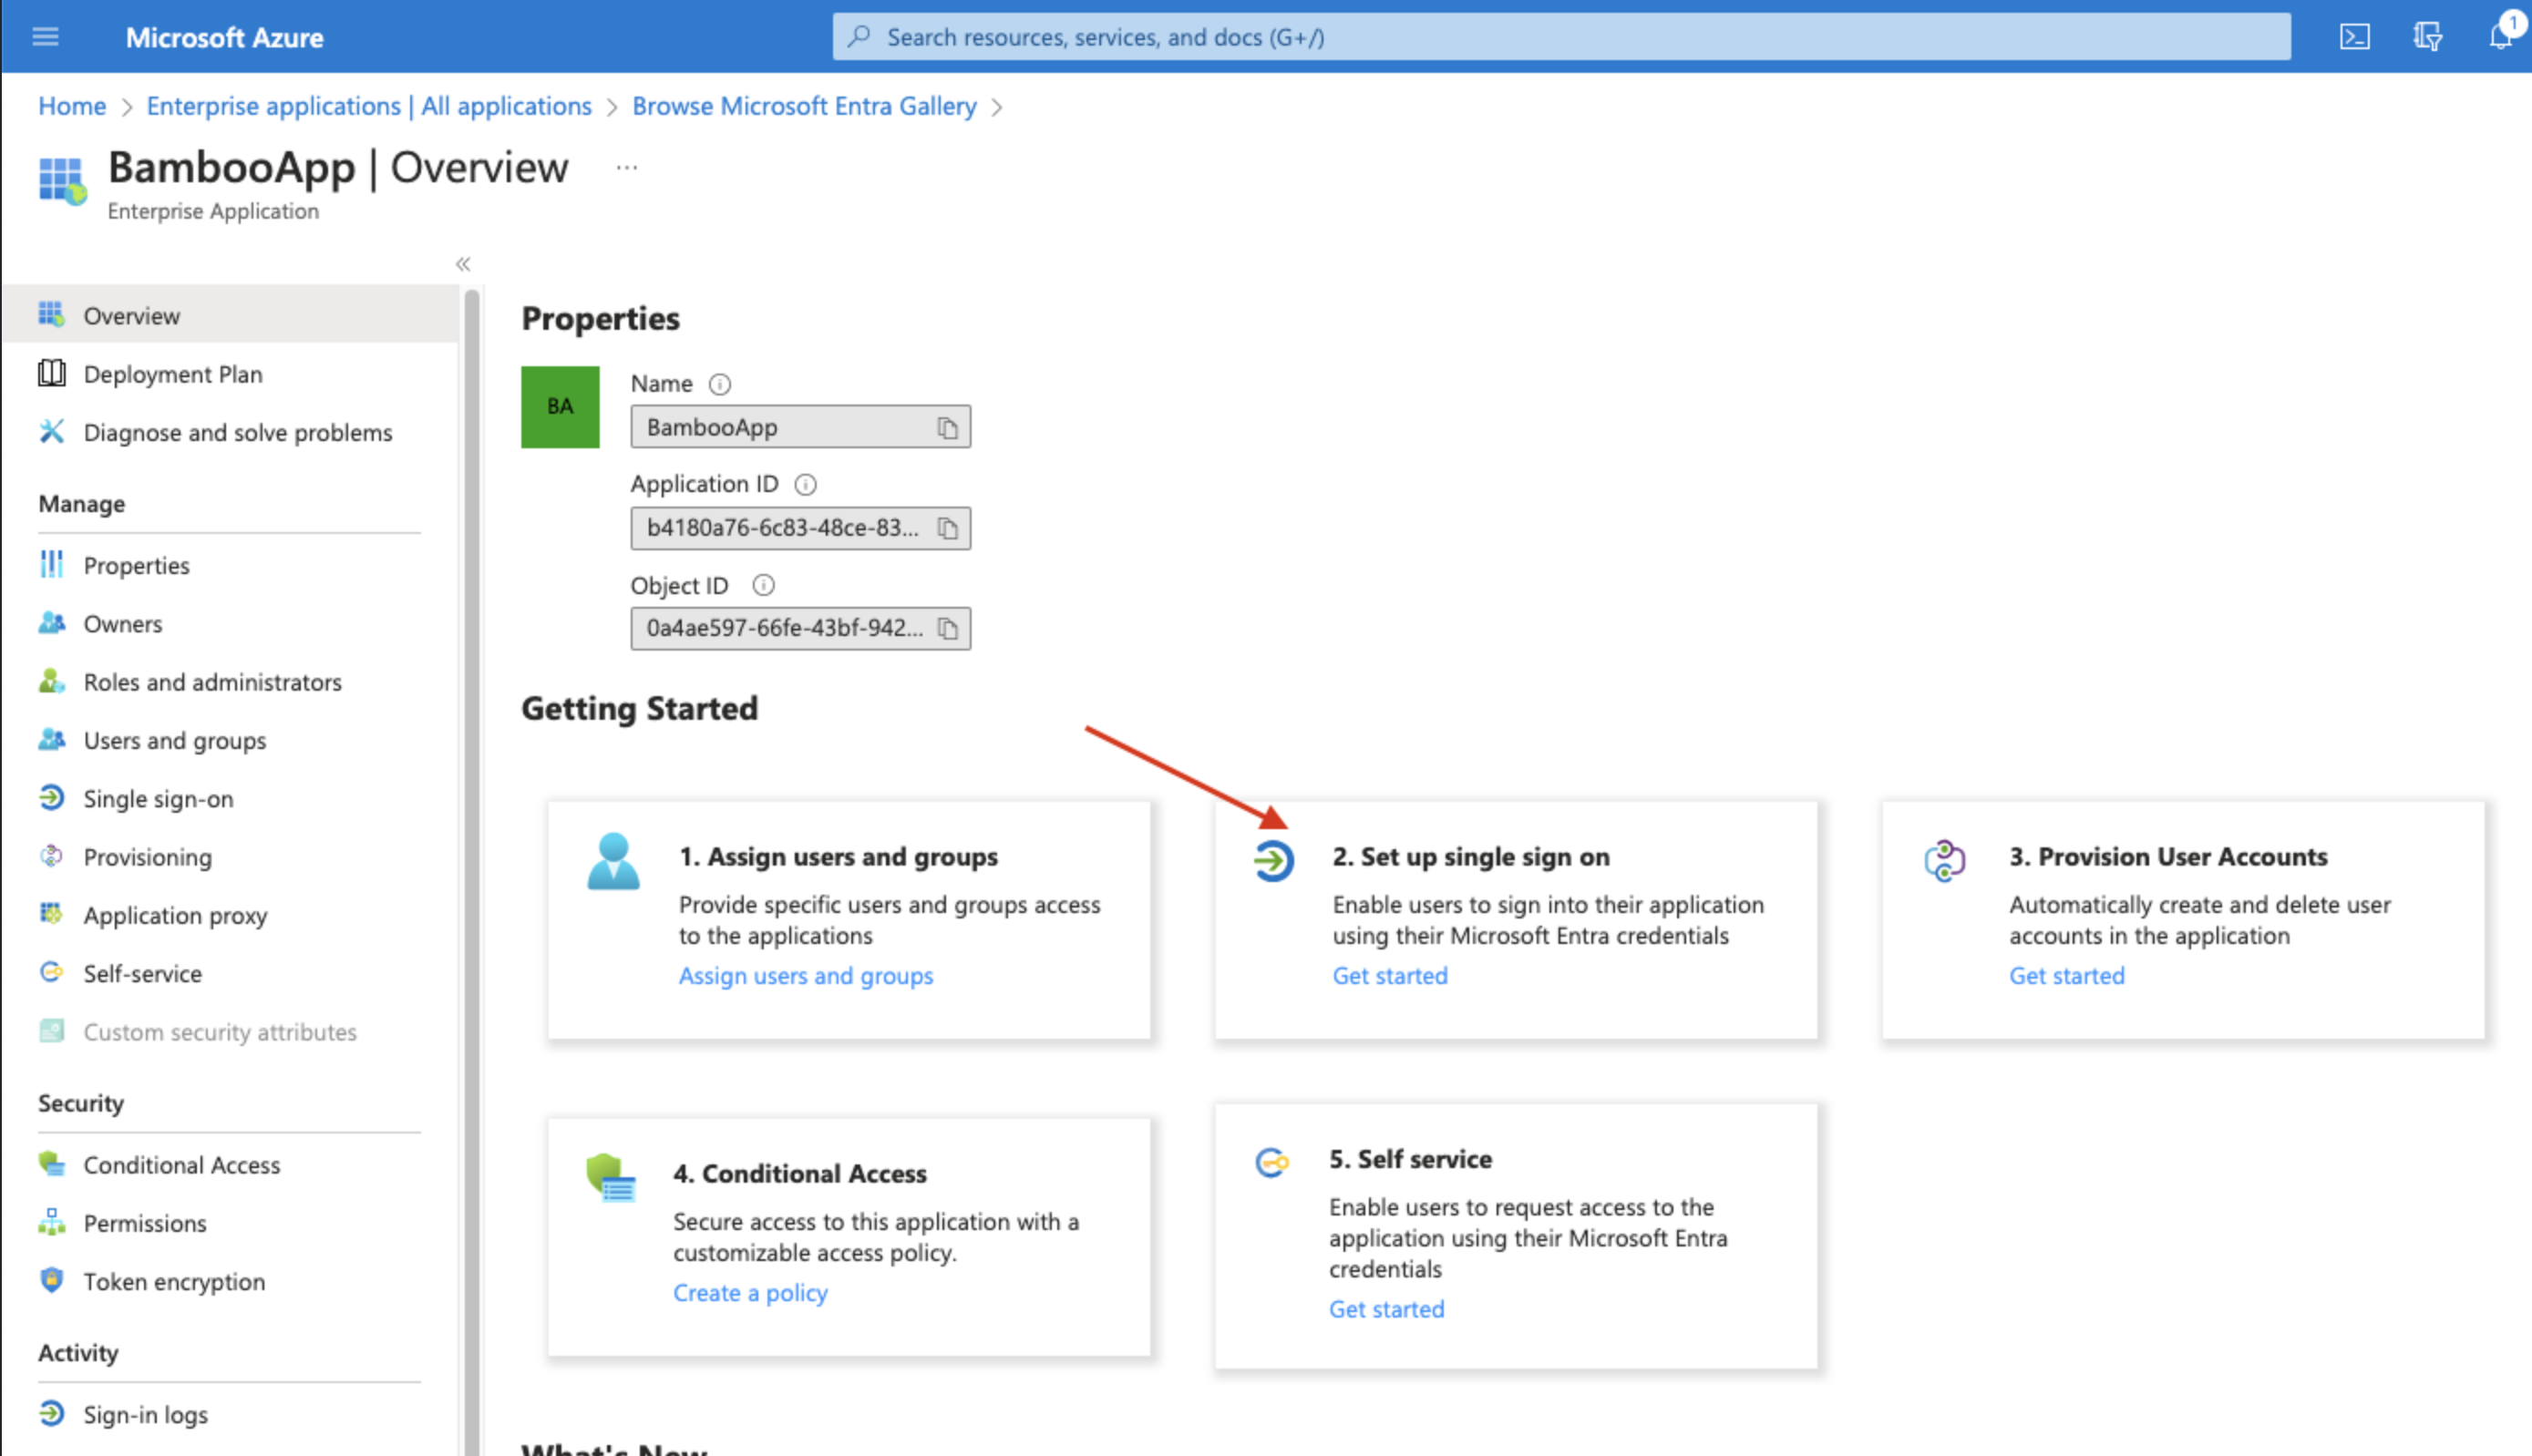
Once the app is created, Click on “Setup single sign on”
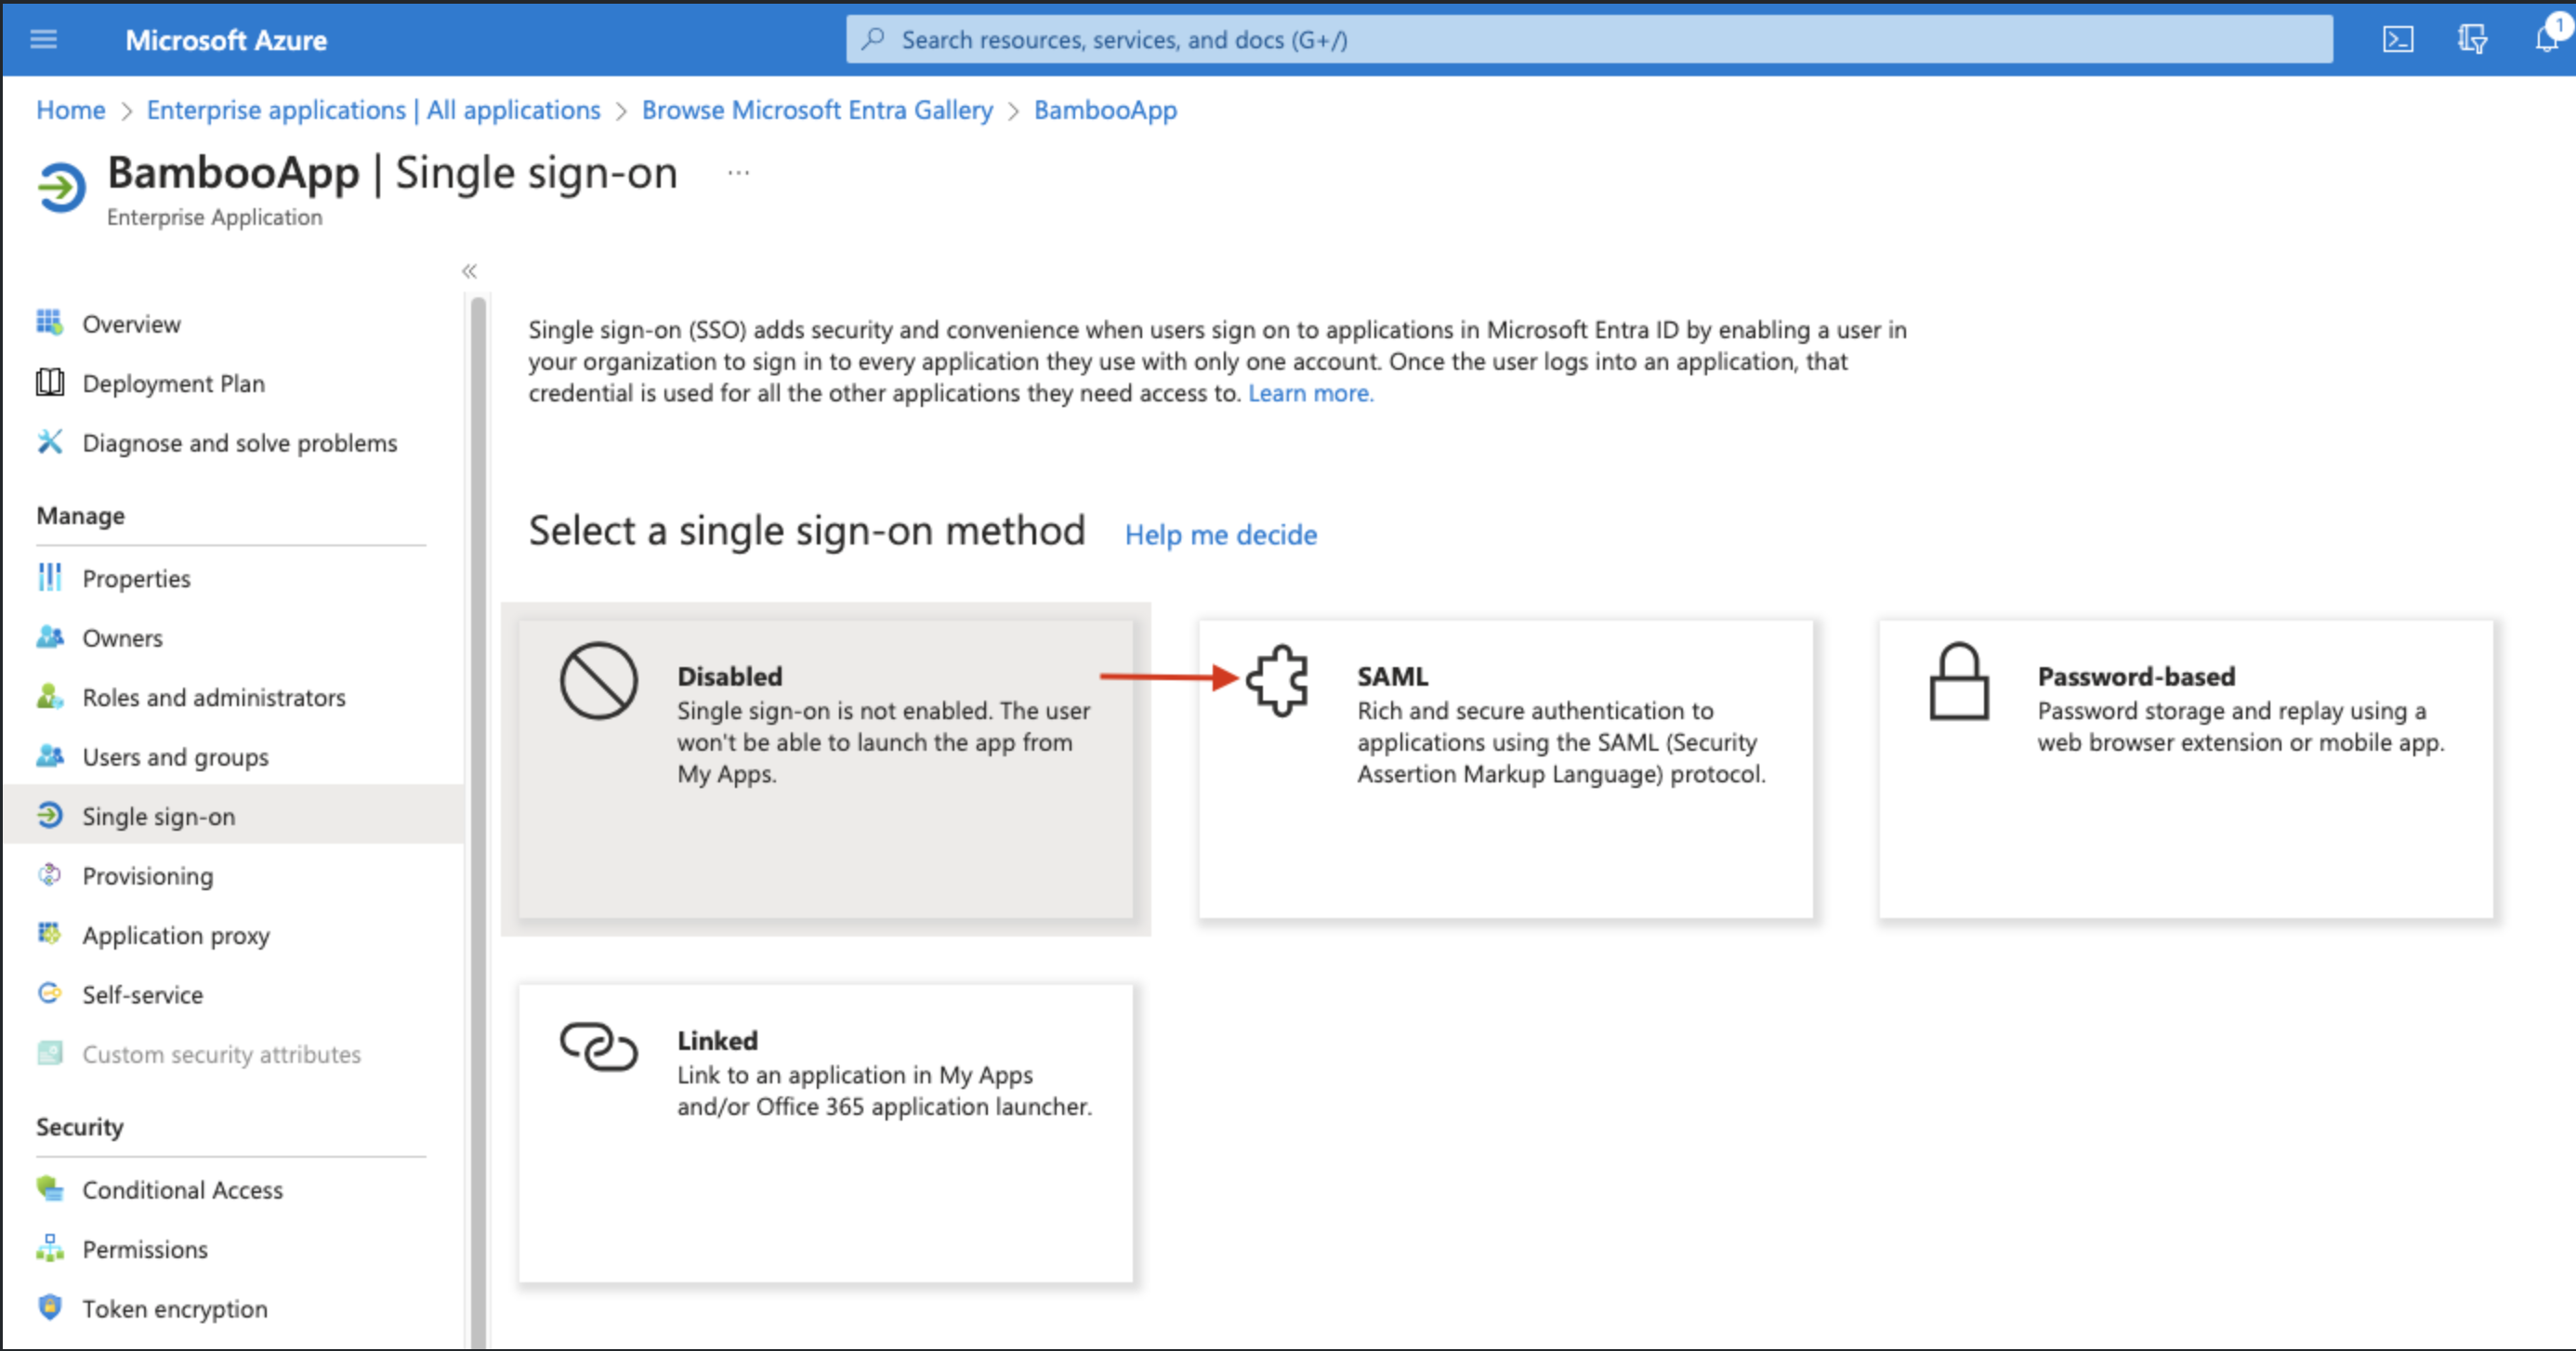
Choose SAML
Go to the Basic SAML configuration and click Edit
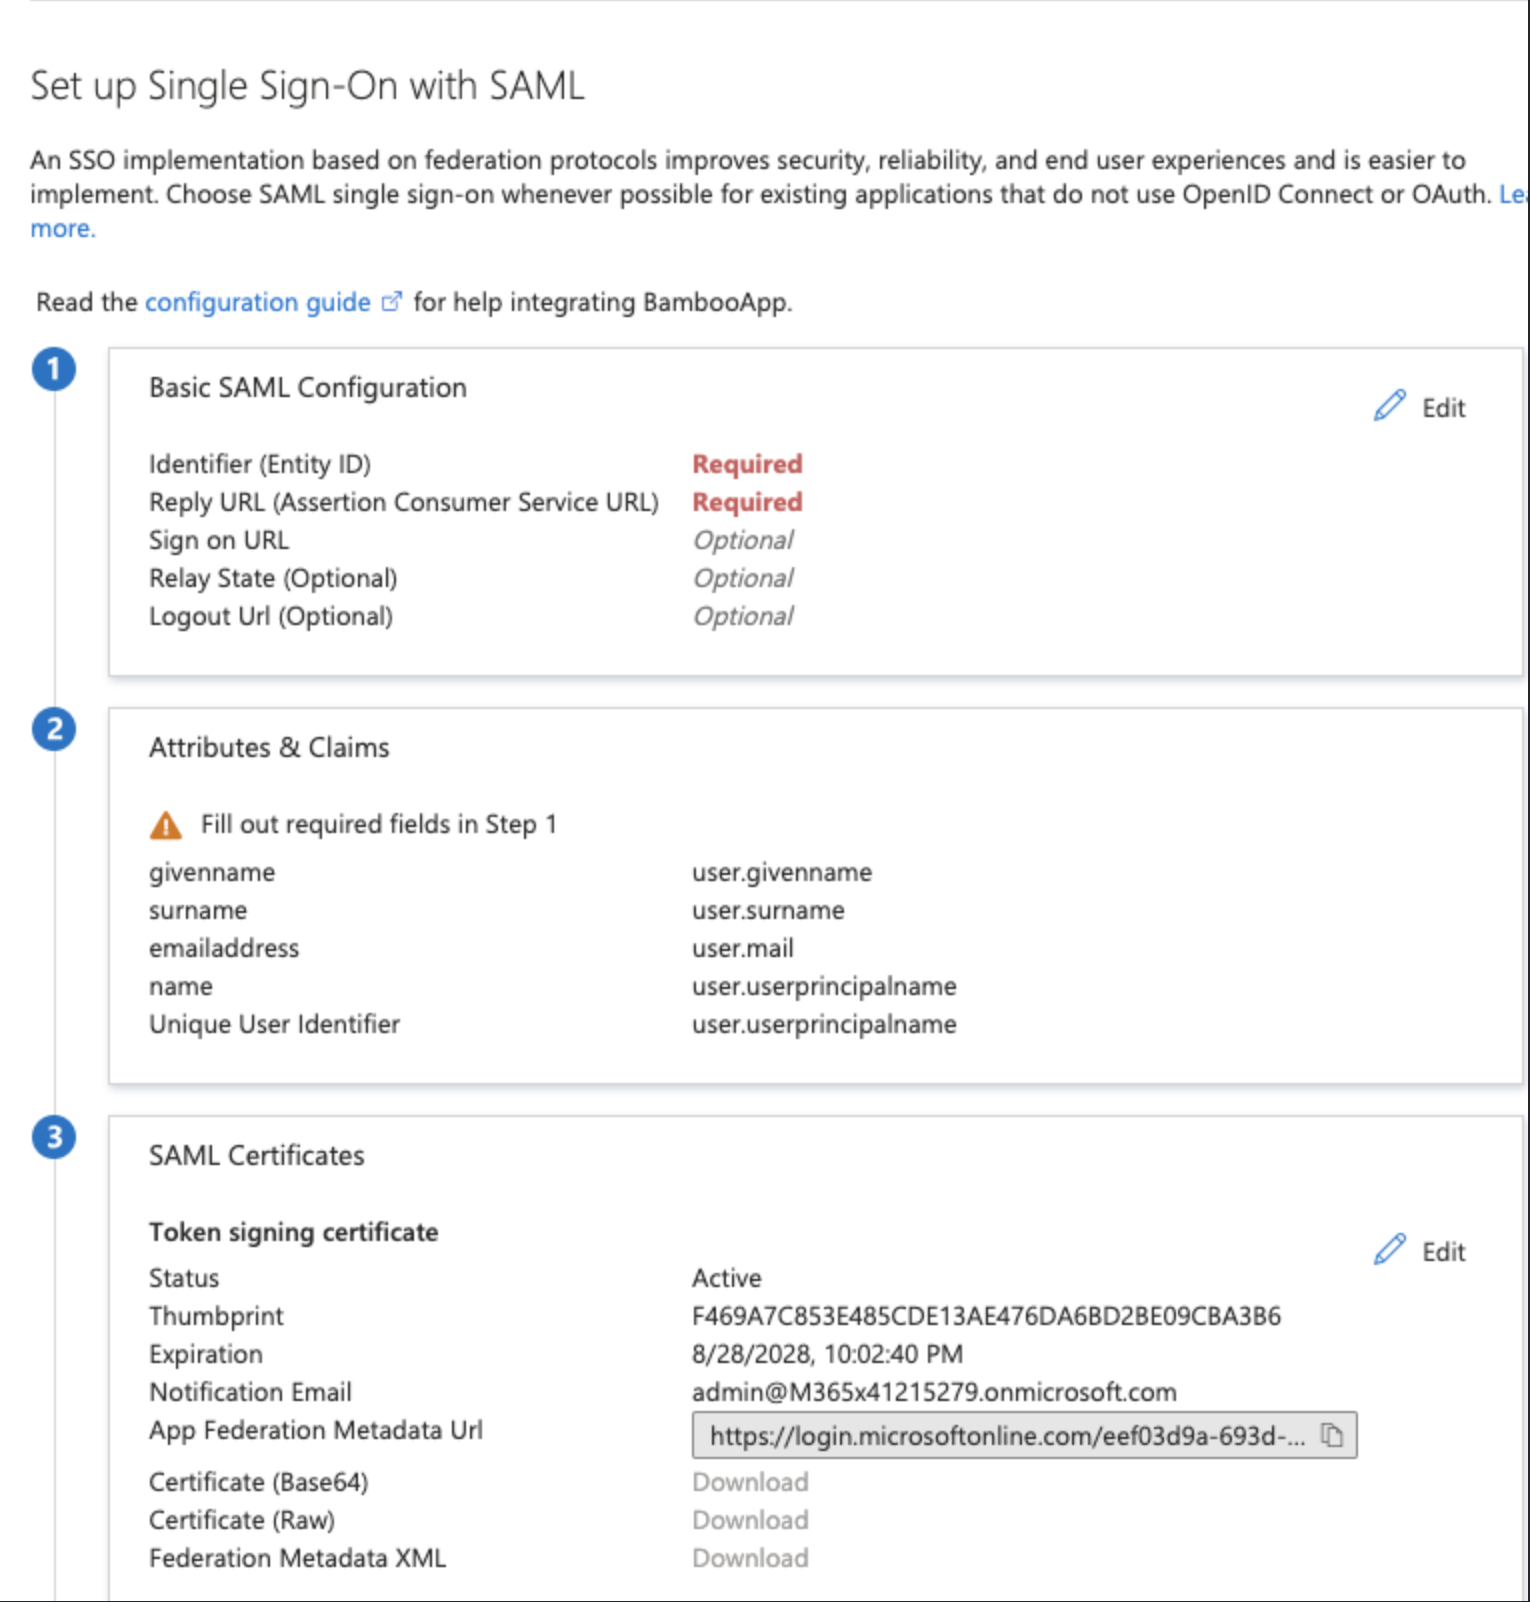
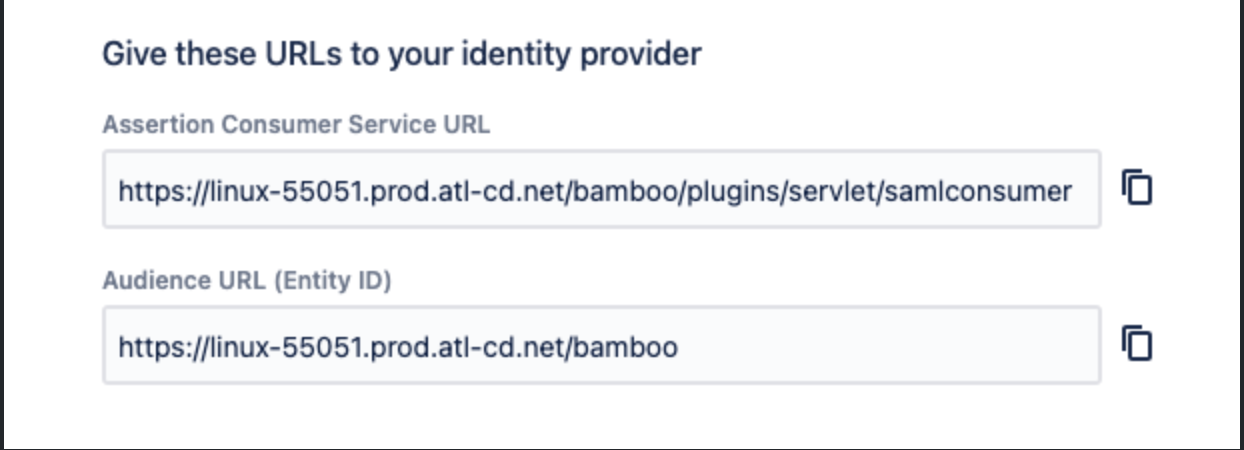
In the Basic SAML Configuration Page, You need to fill the Entity ID and the Reply URL
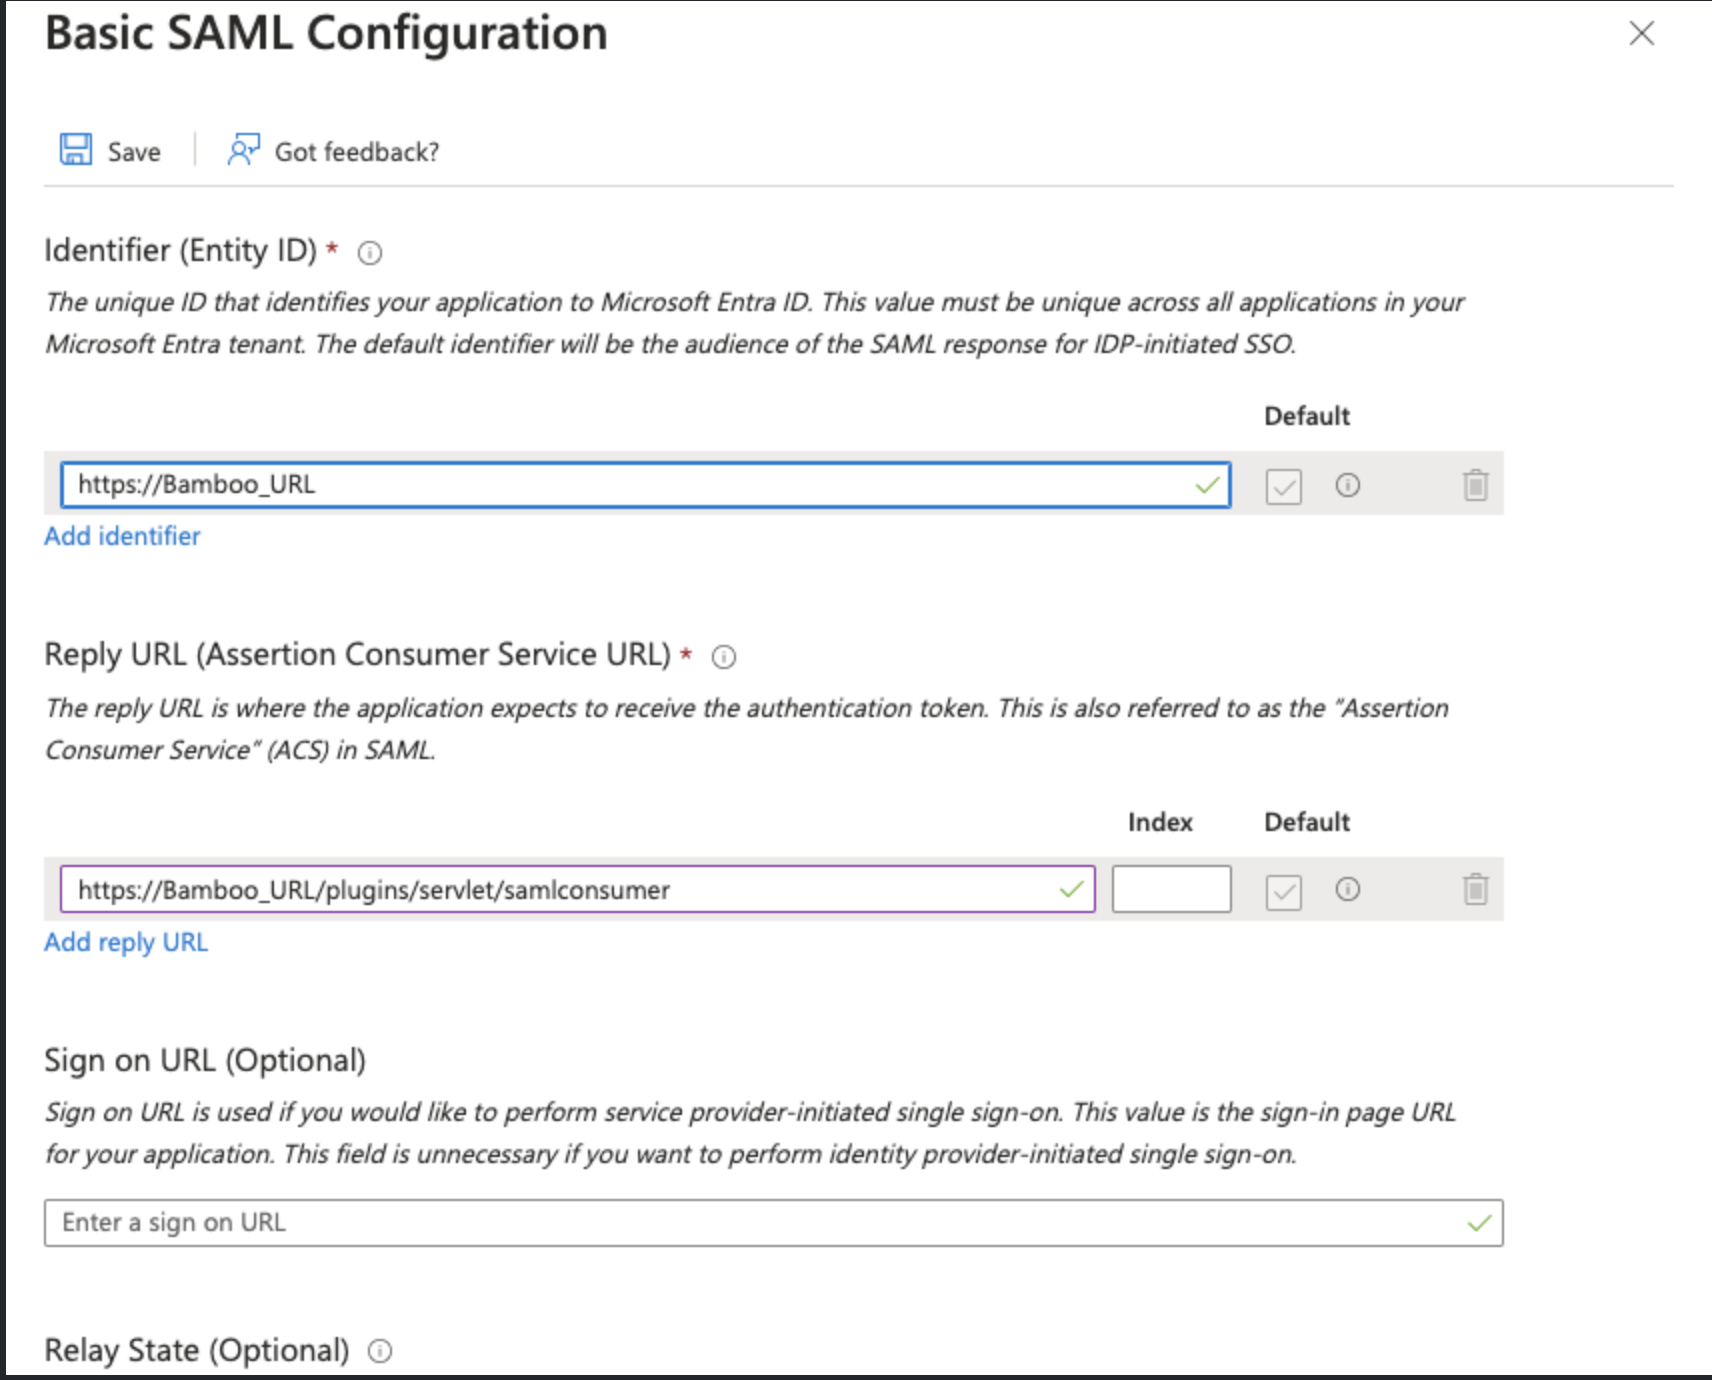
You can get this information from Bamboo when you enable the SAML SSO Authentication
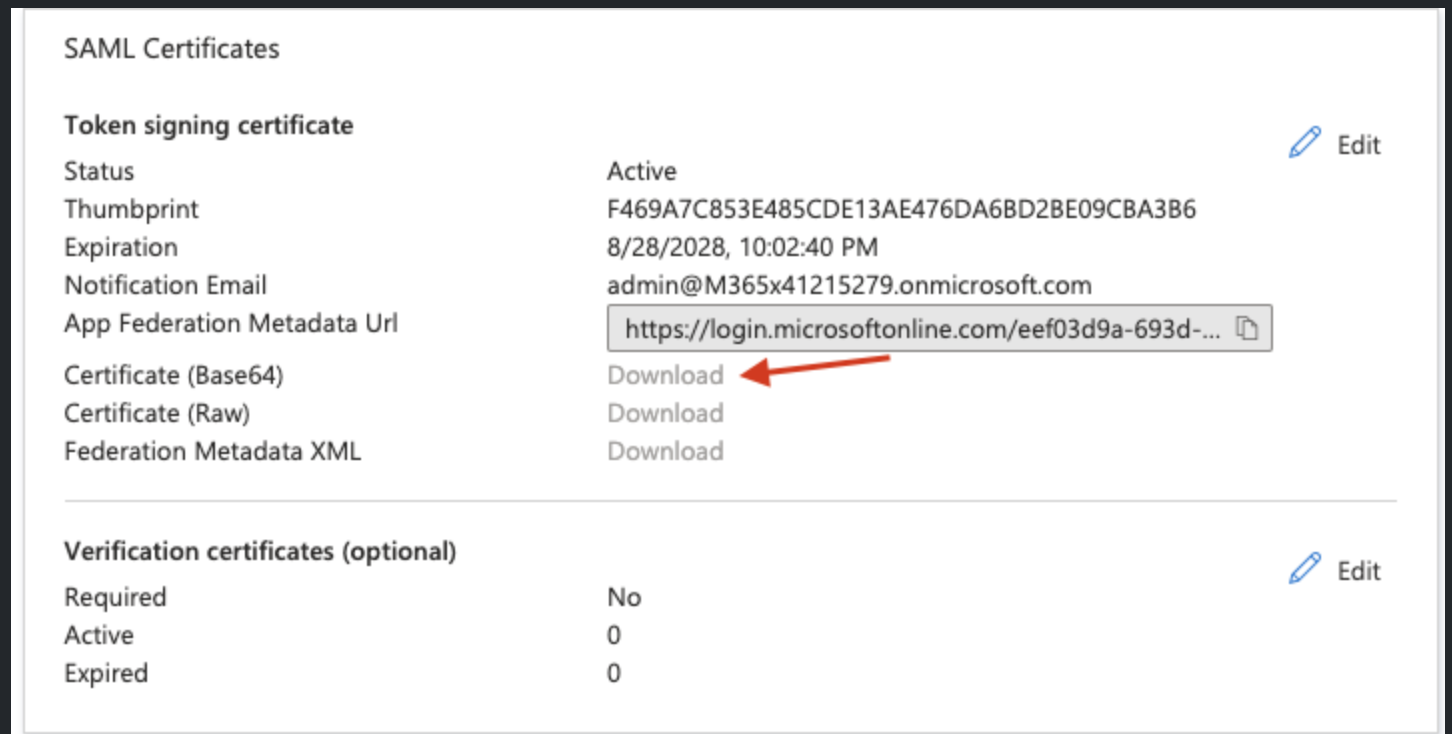
Once you have added the information click on save and then got to SAML Certificates section and download the base64 certificate
Bamboo Configuration side
Microsoft Entra ID (formerly Azure AD) typically sets the Unique User Identifier (Name ID) to return the UserPrincipalName in the form of an email address by default. However, Atlassian Data Center applications, such as Bamboo, require a username instead of an email address. To accommodate this, you may need to adjust the Unique User Identifier (Name ID) to use user.onpremisessamaccountname or user.mailnickname. This change ensures that Microsoft Entra ID returns only the email prefix as the ${NameID} property, which Bamboo can then utilize appropriately.
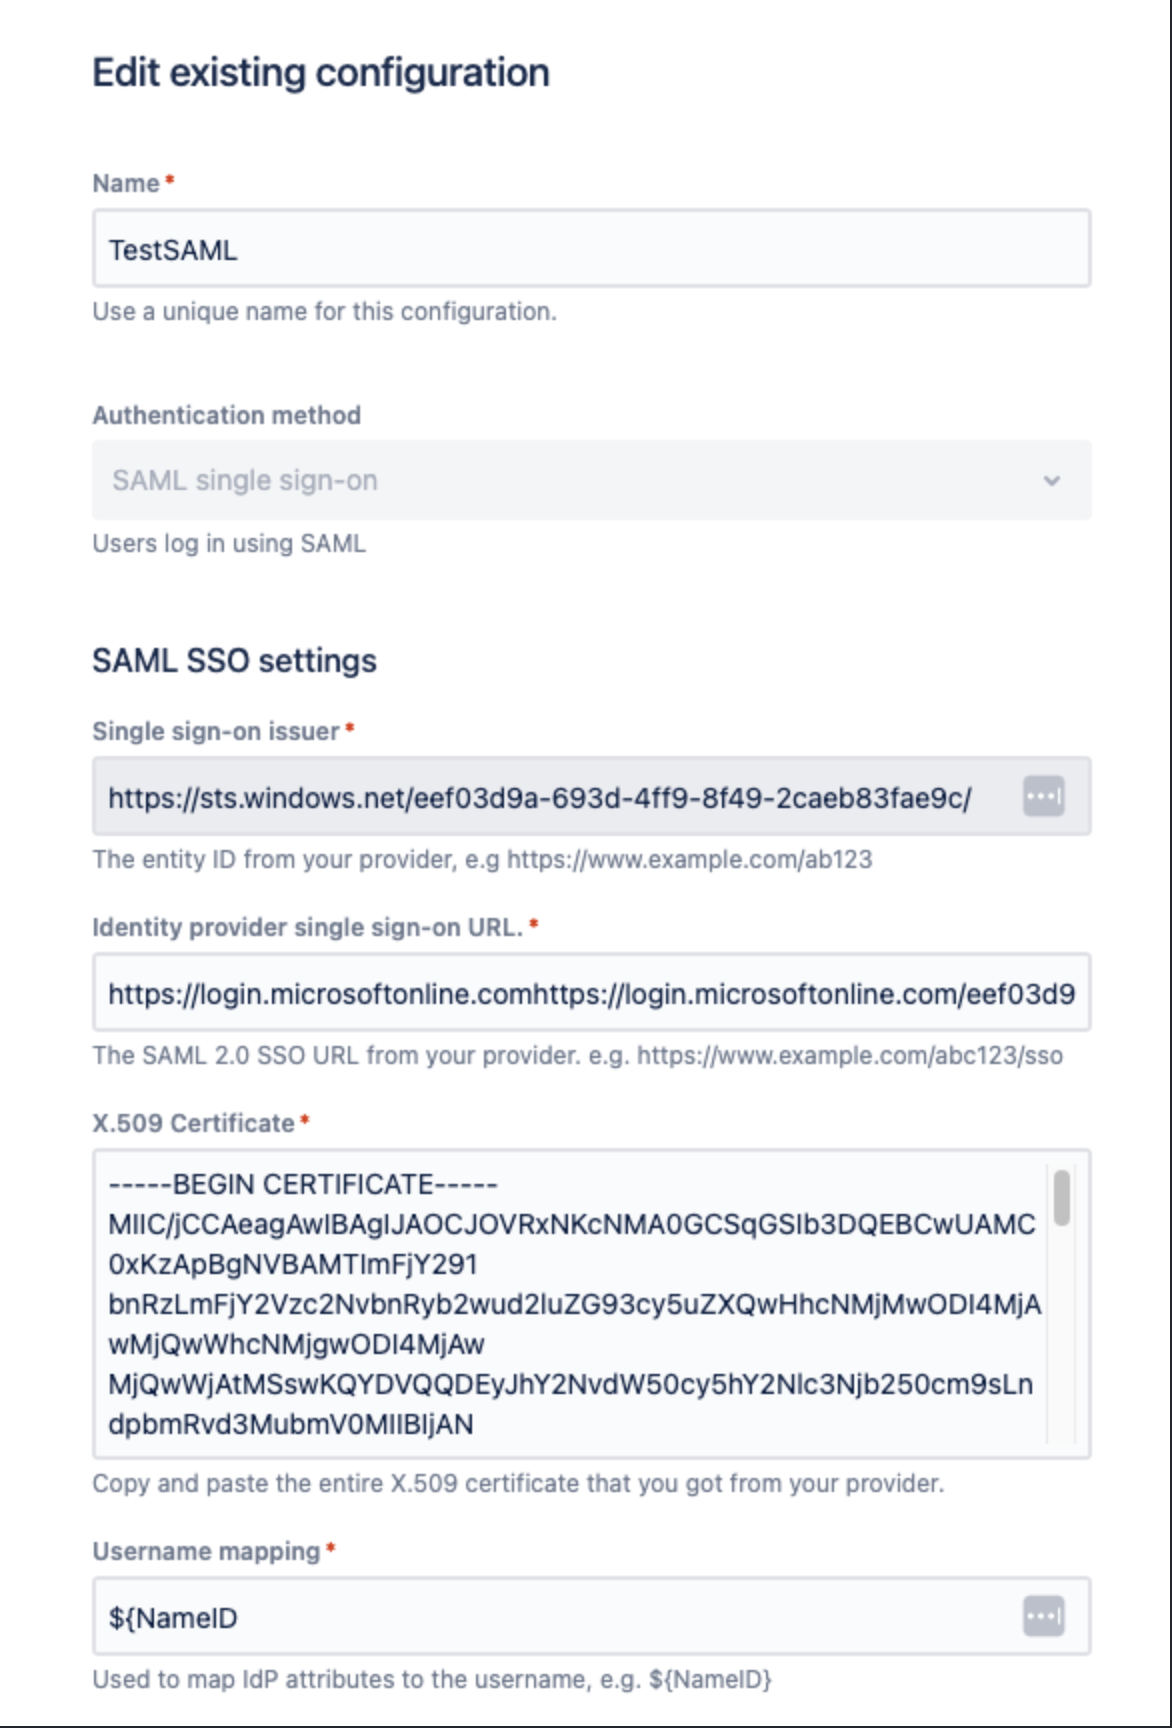
Once you enabled the SAML SSO and started editing the configuration you need to fill out this information
In the Single sign-on issuer section, you need to copy this URL from Azure in the Microsoft Entra Identifier section.
In the Identity provider single sign-on URL, you must copy this URL from Azure in the Login URL section.
In the user mapping section add
${NameID}In the x.509 certificate you need to open the downloaded base64 certificate and copy its content and add it.
- Then click save and test the authentication.
Ensure that the user exists in Bamboo
- Even after setting up SAML SSO you still need to make sure that users that need to be authenticated exists in Bamboo Instance(LDAP or local).
- Alternatively, enable Just-In-Time (JIT) provisioning if that fits your use case. You can find more information on JIT provisioning.