Linking a GitLab or GitLab Self-Managed repository with Jira
Use the Jira DVCS connector to link a GitLab (hosted or self-managed) account to Jira Software Server. When linked to Jira Software, branches, commit messages and pull requests are all seamlessly referenced in Jira Software issues. This allows Jira Software to display information about your development activity in the corresponding issue.
Connecting Jira Software to GitLab
The connector needs permission from your DVCS account to access your account data. The connector does this through an OAuth 2 access token.
Add an OAuth 2.0 integration for your GitLab integration to use
For more information on OAuth 2.0 in Jira, see Integrating with OAuth 2.0.
To add a new OAuth 2.0 integration in Jira:
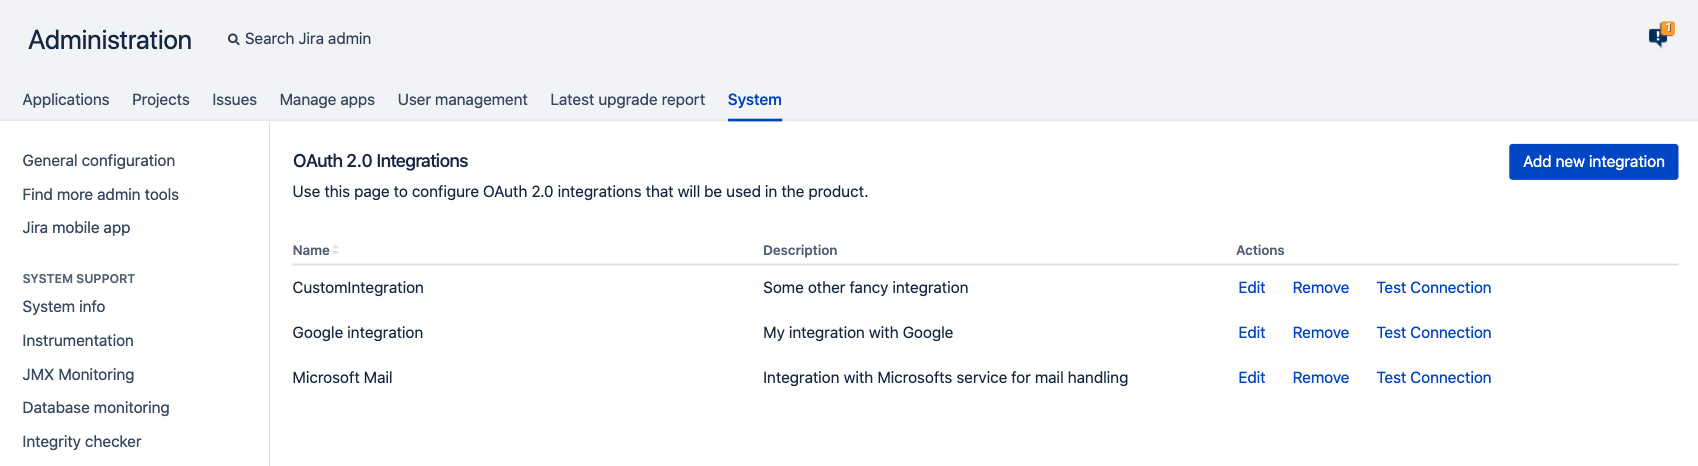
- In the upper-right corner of the screen, select Administration
 > System.
 In the sidebar, select OAuth 2.0 and then select Add new integration.
Select Custom.
Enter your integration’s name.
Enter the authorization and token endpoint:
For https://gitlab.com:
Authorization endpoint:https://gitlab.com/oauth/authorize
Token endpoint: https://gitlab.com/oauth/token
For GitLab self-managed, it will be:
Authorization endpoint:
<GITLAB_SELF_MANAGED_URL>/oauth/authorizeToken endpoint:
<GITLAB_SELF_MANAGED_URL>/oauth/token- Keep the form open, and use the generated redirect URL to create the OAuth 2.0 configuration in GitLab. For more info on how to do this, see OAuth service provider. Things to keep in mind when creating the configuration in GitLab:
- Apply the
apiscope - Keep
Confidentialenabled
- Apply the
- Back in Jira, apply the following data generated in GitLab:
- Application ID as Client ID
- Application Secret as Client Secret
- Save the Jira OAuth 2.0 integration, and select Test Connection.
- In the GitLab authorization prompt, select Authorize.
Using the OAuth 2.0 integration in DVCS
To use the OAuth 2.0 integration you created in DVCS in Jira:
- In the upper-right corner of the screen, select Administration > Applications.
- Under Intergations, select DVCS Accounts.
- Select Link an account.
- In the Host dropdown, select GitLab or GitLab Self-Managed.
- For GitLab Self-Managed, enter your GitLab Host URL.
- For Gitlab, the Host URL is fixed to https://gitlab.com.
- In the Team or User Account, enter the target group and optional subgroups.
This is in the form of groupA/sub-groupA/sub-sub-groupA.
You can only have one group active as a configuration at one time. For example:
- If an existing integration is already using groupA, you won't be able to use groupA/sub-groupA in your new integration.
- Likewise, if an existing integration is using groupA/sub-groupA, you won't be able to use groupA in your new integration.
When entering the groups, all spaces must be changed to dashes (-). For example, a group My projects needs to be my-projects. This also applies to subgroups: My Projects > More Projects would be my-projects/more-projects. Another way to get this right is to access your group on Gitlab, and copy the URL, for example http://gitlab.com/my-projects/more-projects.
In the Client configuration, select the created OAuth 2.0 integration. If you have only one, it will be automatically selected.
- Select Add.